- Free delivery over £195
- Delivery to UK & Ireland
- [email protected]
- 01366 500 828
- Manage my robot
Preparing your garden is one of the most important steps before installing a robotic lawn mower. Whether you’ve chosen a model with GPS and RTK navigation or one that requires a buried boundary wire, a little preparation goes a long way in ensuring a smooth setup and a clean cut.
This guide walks you through everything you need to do to get your lawn or outdoor space ready for robotic mowing — and how to maintain it properly once your mower is up and running.
Some robotic mowers use GPS and RTK technology to navigate your lawn. These are fully wire-free and rely on signal correction data to cut in straight, efficient lines. Others require a perimeter wire to be laid or buried around the edges of the mowing area.
These models use GPS correction signals to identify where the mower is and guide it across your lawn. They don’t require any digging or cabling. For installation guidance, see our wire-free robot mower setup guide.
If you’re unsure whether your lawn gets a reliable RTK signal, GroundTech can check local coverage and recommend a correction beacon if needed. Get in touch for signal testing before setup.
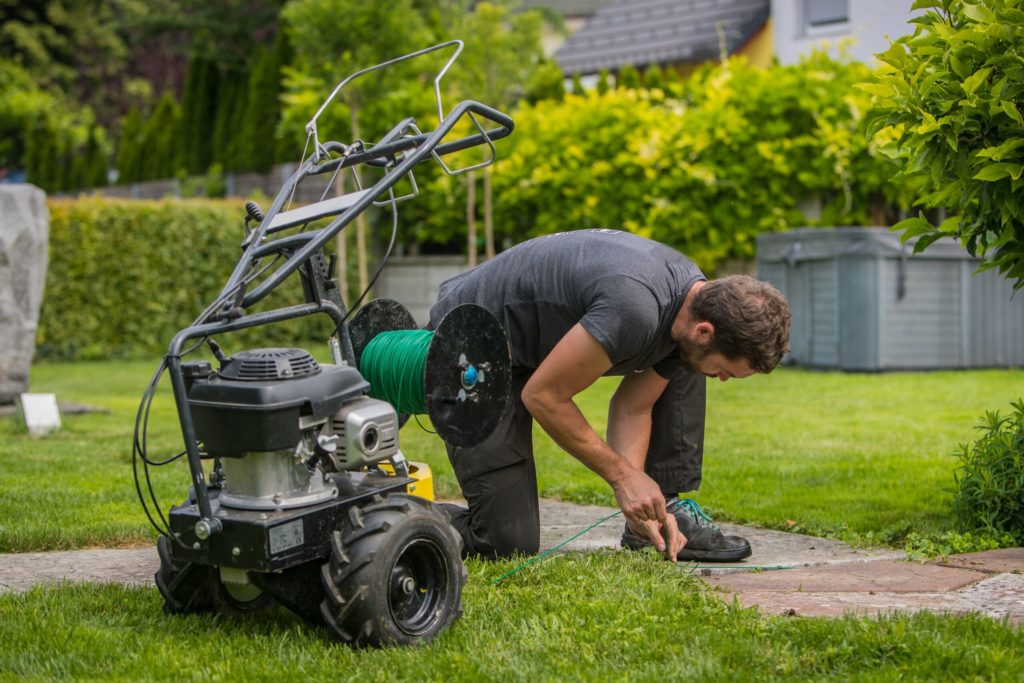
If your mower uses a perimeter wire, you’ll need to plan your boundary layout in advance. The wire should be laid flat and buried at a shallow depth — deep enough to avoid disruption from foot traffic but shallow enough for the mower to detect reliably.
Sketch your lawn layout and mark beds, narrow gaps, and areas you want excluded. This will make routing the wire easier and avoid rewiring if you forget a section. Avoid tight corners or areas with tree roots where wire could get damaged or snagged.
While most robotic mowers have built-in sensors, it’s best to start with a clear lawn. Toys, small ornaments, hose reels, or loose items can damage blades, interfere with navigation, or leave parts of your lawn uncut.
For more detail, see our advanced performance tips.
Your robot mower needs a stable, flat, and open location for the dock. This helps ensure a consistent docking routine and proper charging alignment.
For wire-free models, the dock must have open sky access to receive GPS and RTK signals. Avoid placing it under trees or against walls. Choose a well-drained spot that doesn’t collect water. If needed, use a compatible dock shelter to protect it from heavy rain or direct sunlight.
Need help choosing a location? Read our charging station placement guide.
RTK mowers can sometimes misbehave near metal sheds, greenhouses, or large mirrored surfaces — these can bounce GPS signals and confuse positioning. Try to place your dock away from reflective or metallic structures when possible.
Before setup, inspect the lawn surface:
Mulching mowers help maintain a healthy lawn by recycling clippings — but a clean, even surface helps them do the job better.
Most robot mowers can handle slopes between 20–45%, but it’s worth checking your garden with a basic slope meter (or app).
Not sure about your garden’s terrain? Contact GroundTech — we’ll assess and advise before you buy.
If your lawn is weedy, patchy, or overgrown, consider doing a manual mow and light tidy-up before going robotic. Robot mowers are designed to maintain — not renovate — a lawn. Starting with a clean, healthy surface makes automation more effective.
Depending on the type of lawn you’re mowing, you’ll want to adjust the cutting height to match. Whether it’s a short-pitch garden or a lightly maintained natural lawn, most robot mowers allow blade height adjustments in the app or on the unit.
Learn more in our guide on how robot mowers work.
If your garden has separate zones, check that the mower can travel between them — paths or gateways must meet your mower’s minimum width requirements. Otherwise, you may need to set zones individually in your app.
Remove toys, tools, and fallen branches regularly. Even with sensors, these can damage your mower or interfere with navigation.
Most mowers won’t cut right up to fences or vertical walls. Use a strimmer every few weeks to keep borders clean.
Inspect and replace blades as needed — blunt blades tear grass instead of slicing it, which stresses the turf and causes rough cuts.
Wipe contacts, remove clippings, and ensure the entry area is clear. This helps maintain charging consistency and prevents docking errors.
Added a new bed, tree, or fence? Update your zone map in the app to avoid confusion or missed areas.
Open your mower’s app regularly to check for updates. These often bring better route handling, battery improvements, or bug fixes.
Clean your mower thoroughly, disconnect the dock if not in use, and store indoors during off-season months. Refer to your manufacturer’s winter guide for model-specific steps.
Need help with troubleshooting? Visit our robot mower troubleshooting guide.
When you choose GroundTech, you not only receive access to the most innovative robotics on the market, you benefit from over 20 years of expertise in the grounds maintenance industry. That’s the GroundTech Difference.