- Free delivery over £195
- Delivery to UK & Ireland
- info@groundtech.co.uk
- 01366 500 828
- Manage my robot
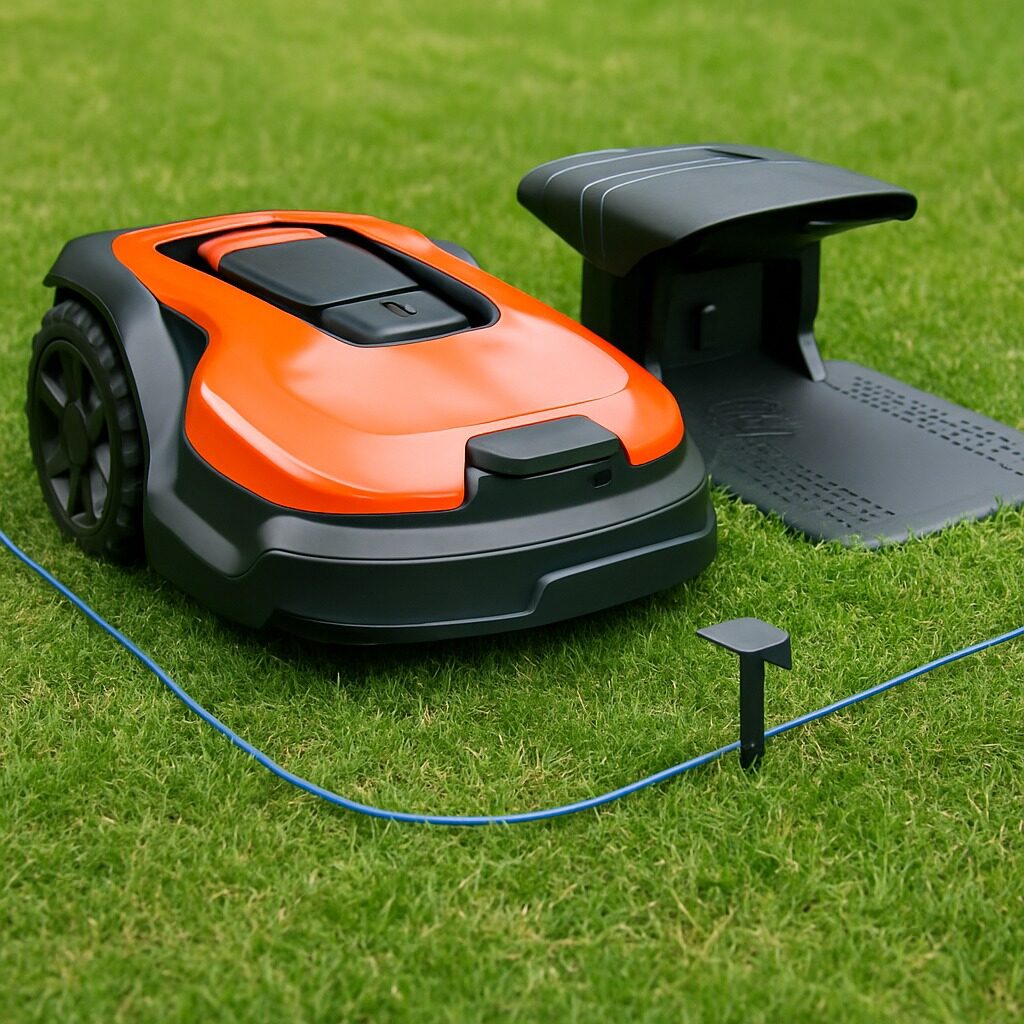
Most entry-level and mid-range models are robot mowers with perimeter wire. Installing the boundary wire is a one-time job that defines your mowing area and ensures reliable cutting. If you’re still deciding, explore our garden robot mowers, or see do all robot mowers need wire? for a quick overview of wired vs wire-free options. For larger sites such as schools, sports clubs and estates, check our commercial robot mowers.
The first step is to find a suitable location for the charging station. It should be placed on flat ground with access to mains power. Leave at least 1–2 metres of straight, open space in front of the dock so the mower can line up correctly when returning. Avoid placing the station in tight corners, near hedges, or in shaded, enclosed spots as this can affect GPS reception and navigation accuracy. A centrally positioned dock often gives the best results, especially for gardens with multiple zones.
Next, walk the lawn and plan where the boundary wire will run. Keep the wire approximately 30–35 cm away from solid edges such as walls, fences or raised beds to prevent the blades striking against them. Make a note of any obstacles such as trees, ponds, or flower beds where you’ll need to create exclusion zones (islands). At this stage, it’s worth sketching the layout or using pegs to mark out the path before you begin laying wire. Proper planning reduces the chance of errors later.
Starting from the charging dock, peg the boundary wire into place around the edge of the mowing area. Space the pegs roughly every 1 metre to keep the wire secure and flat against the ground. Avoid sharp bends, crossed wires, or overlapping loops as these can confuse the mower’s sensors. Once you have completed the loop, return to the dock with the wire ends ready to be connected. At this stage, keep the wire on the surface until you’ve tested it — you can bury it a few centimetres down afterwards for a tidier finish.
For areas you want the mower to avoid, such as trees, water features, or flower beds, create an “island” with the wire. Run the wire out to the obstacle, loop around it at the same 30–35 cm distance, then return along the same path and reconnect to the main loop. The two runs of wire (out and back) must be laid directly side by side so the signals cancel each other out, allowing the mower to treat that section as a single pass. This ensures the mower recognises the enclosed area as off-limits.
Some models support a guide wire to improve navigation and docking. A guide wire runs from the charging station out to a distant point in the lawn, effectively giving the mower a “shortcut” back to the dock. This is especially useful in larger gardens or complex layouts with narrow passages. To install, connect the guide wire at the dock, run it in a straight line through the middle of the lawn, and peg it down securely. Keep the route as simple as possible to reduce docking time and improve overall efficiency.
Once the perimeter and any guide wires are in place, connect the ends to the charging dock. Most stations have clearly marked terminals for “left” and “right” loop wires and a separate input for a guide wire if used. Ensure that the clamps are fully seated and weather covers are properly closed. Loose or poorly connected wires are one of the most common causes of installation problems, so take your time to check each connection carefully.
Switch on the charging station and check that the loop signal is active. Most stations have LED indicators to confirm this. A steady green light usually means the loop is intact, while a flashing or red light indicates a break in the circuit. If the loop is broken, double-check connectors, bends, and joins. Once the loop is confirmed, place the mower on the dock to begin charging. Always allow a full charge before the first mowing run to avoid interruptions during setup.
After charging, start a supervised mowing run. Watch carefully as the mower follows the boundary. If it clips edges, move the wire outward by a few centimetres; if it leaves strips of uncut grass, bring the wire in slightly. Adjusting in small increments of 2–3 cm usually gives the best results. Begin with a higher cutting height for the first week to avoid stressing the grass, lowering it gradually once the mower is consistently covering the full area. With careful fine-tuning, your mower should achieve clean and even results on every run.
Installing a perimeter wire takes preparation but pays off with reliable mowing. Always leave a little slack in corners or near connectors so adjustments are easier later. Continuous wire runs are more reliable than multiple joins, especially outdoors. If your lawn has underground utilities, mark them before pegging or trenching to prevent accidental damage.
Common errors include placing the dock against a wall, laying wire too close to solid edges, or forgetting to fully charge the mower before the first mapping run. If you run into problems like broken loop signals, poor docking, or erratic navigation, see our robot mower troubleshooting guide for fixes.
Traditional wired systems are reliable and cost-effective for most homes, but wire-free mowers use GPS-RTK for easier setup and flexible re-mapping. For a full comparison, see do all robot mowers need wire?. Here’s a quick side-by-side view:
| Wired Robot Mower | Wire-Free Robot Mower |
|---|---|
| Uses perimeter wire to define mowing area | Uses GPS/RTK mapping, no wire required |
| Lower upfront cost, common in garden models | Higher cost, common in commercial models |
| One-time installation, reliable long-term | Easy to re-map and move between lawns |
| Best for small to medium domestic gardens | Best for large gardens, pitches and estates |
For small lawns, see our garden robot mowers or our guide to the best robot mowers for small gardens. For larger gardens, check the best robot mowers for large gardens. If you manage sports grounds, schools or business estates, explore our commercial robot mowers and read 10 reasons to switch to robotic mowing to understand the long-term benefits.
If you’re unsure about layout, routing or mower choice, start with our wired vs wire-free guide. From there, you can decide between a garden robot mower